How to Make a Show Stopping Valentine Heart Wreath

Valentine’s Day décor doesn’t have to be expensive—or boring. One of the easiest ways to make a big visual impact without overspending is by creating a DIY Valentine heart wreath. It’s romantic, welcoming, and completely customizable to your style and budget. Whether you’re decorating a front door, apartment wall, or cozy corner at home, this project proves that thoughtful design matters more than price tags. The best part? You don’t need fancy supplies or professional crafting skills. With a little planning and a few budget-friendly tricks, you can create a show-stopping wreath that looks high-end and heartfelt.
Why a DIY Valentine Heart Wreath Is Worth Making
Handmade décor instantly feels more personal than store-bought pieces. When you make your own Valentine wreath, you control the colors, size, and overall look—so it actually matches your home instead of clashing with it.
Other benefits include:
- Saving money by using faux flowers and basic tools
- Reusing materials year after year
- Creating décor that looks custom and intentional
Plus, DIY seasonal projects are relaxing and fun—perfect for a cozy afternoon at home.
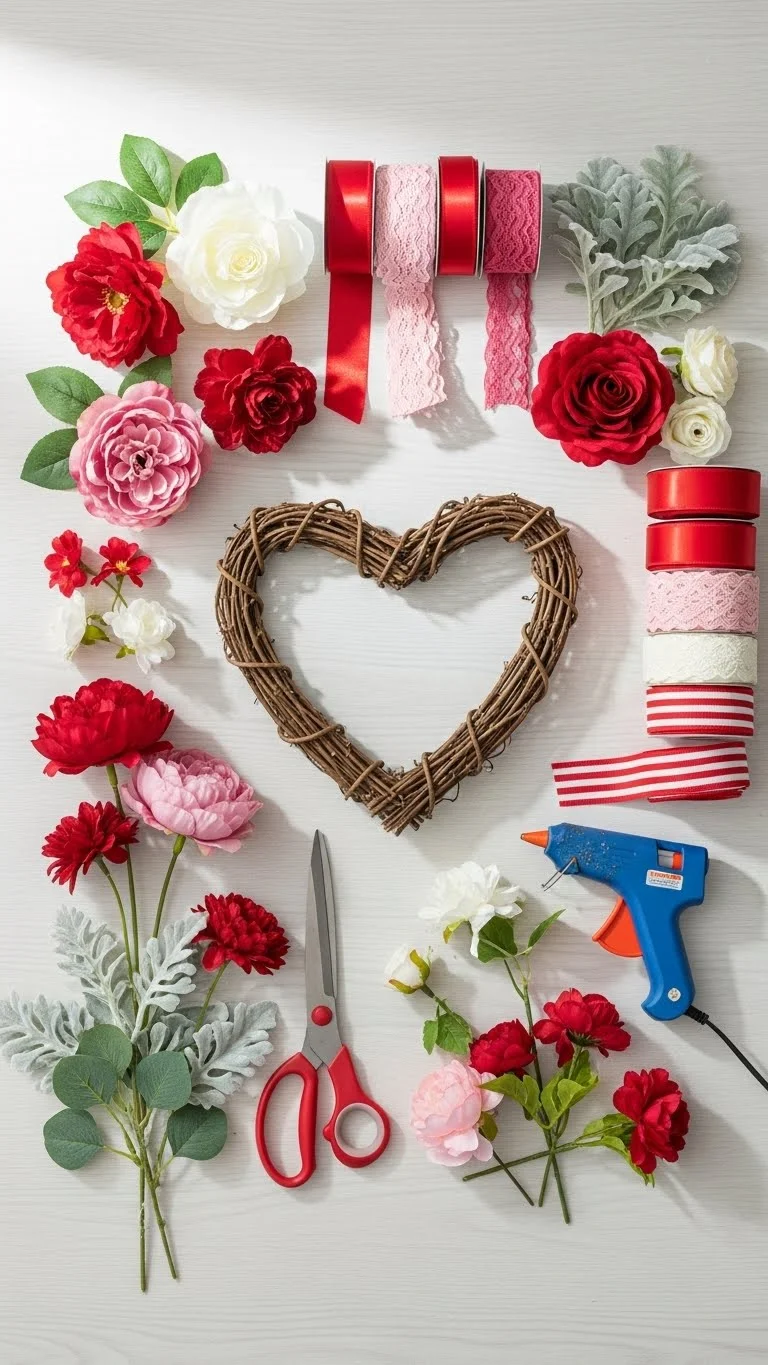
Budget-Friendly Supplies You’ll Need
You don’t need a craft room full of tools. Most of these items are affordable and easy to find at dollar stores, craft shops, or online.
- Heart-shaped wreath base (grapevine, wire, or foam)
- Faux flowers (mix large blooms and small fillers)
- Greenery stems (eucalyptus or leafy vines)
- Ribbon (satin, burlap, or lace)
- Floral wire or a hot glue gun
- Scissors or wire cutters
Budget tip: Buy flowers in bundles and mix colors instead of purchasing pre-made floral picks.
How to Make a Show-Stopping Valentine Heart Wreath
Step 1: Plan Your Design First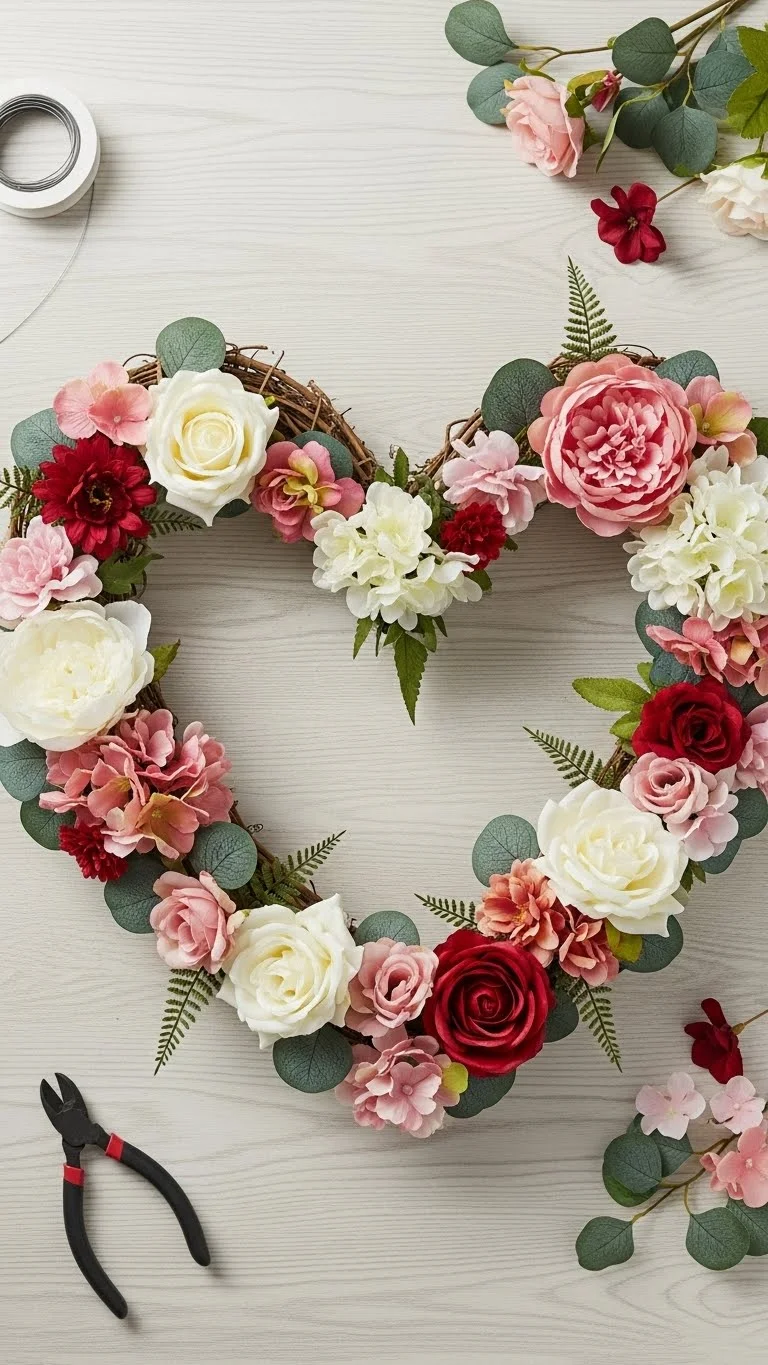
Before gluing anything, decide on your color palette and style. Romantic and soft? Try blush pinks and cream. Bold and festive? Reds with touches of white work beautifully. Lay all materials around the wreath base without attaching them. This “dry arrangement” step helps you avoid overcrowding and wasted supplies.
Step 2: Build the Base With Greenery
Start by attaching greenery to the wreath using floral wire or hot glue. This creates volume and makes the wreath look fuller without using too many flowers. Work in one direction and focus on either:
- One side of the heart (modern look), or
- The bottom half (classic and elegant)
Greenery is your secret weapon for a high-end appearance on a budget.
Step 3: Add Flowers for Impact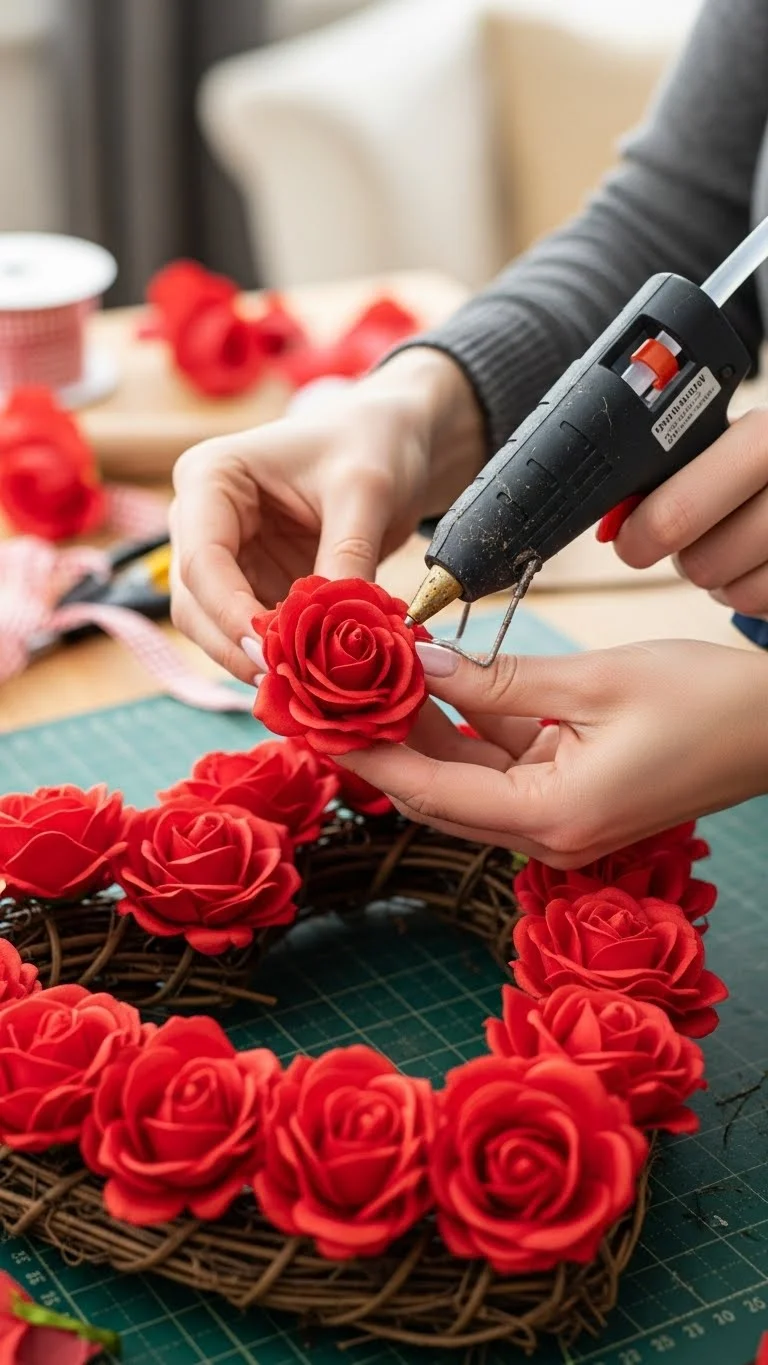
Attach larger flowers first, spacing them evenly. Then fill in gaps with smaller blooms. Slightly angle flowers outward to add depth and dimension. Keep stepping back to check balance—it helps prevent overdoing it.
Step 4: Finish With Ribbon and Details
Add a ribbon bow at the top or let ribbon tails hang down for a romantic touch. If you like, include subtle accents like small hearts or wooden décor—but keep it minimal. Once everything is secure, let the glue dry fully before hanging.
Tips for Better Results (Without Spending More)
- Stick to 2–3 colors for a polished look
- Use greenery to fill space instead of extra flowers
- Decorate only part of the wreath for a modern feel
- Reuse ribbon or accents from previous holidays
Small choices make a big difference.
Common Mistakes to Avoid
- Overcrowding the wreath with too many flowers
- Skipping the dry-arrangement step
- Using weak glue that won’t hold decorations
- Hanging the wreath too low on the door
Taking your time saves money and frustration.
Final Thoughts: Your Budget Can Still Look Beautiful
Learning how to make a show-stopping Valentine heart wreath on a budget proves that creativity matters more than cost. With thoughtful planning and simple materials, you can create décor that feels romantic, stylish, and completely your own. Save this idea, gather a few supplies, and give it a try—you might be surprised at how professional your handmade wreath looks. 💕